Selecting a Folder and Adding Data through DocuSign
After you've completed the setup for the standard one-way integration, you can use DocuSign to provide any of this information to ContractSafe: Folder, My Company, Counterparty, Effective Date, Termination Date, Value, and Notes.
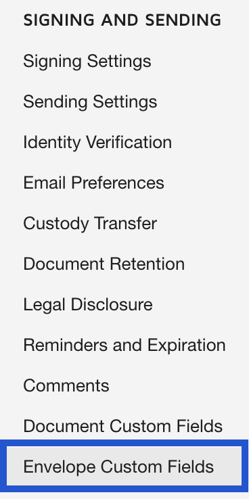
- In your DocuSign Admin account, select Settings.
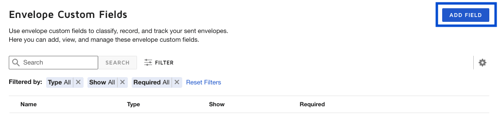
- Select Envelope Custom Fields.
- Select ADD FIELD.
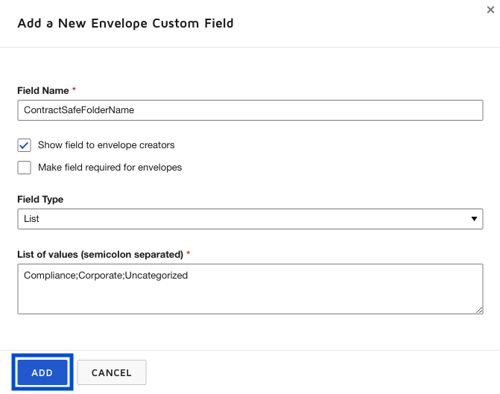
- Copy one item from the list below based on the data you'd like to provide through DocuSign and type it into Field Name:
- ContractSafeFolderName
- ContractSafeMyCompany
- ContractSafeCounterparty
- ContractSafeEffectiveDate
- ContractSafeTerminationDate
- ContractSafeValue
- ContractSafeNote
- ContractSafeTitle
- ContractSafeContractType
- ContractSafeMergeSummary
- This can be used to force the Summary Audit provided by DocuSign to be merged with the Main Document, instead of the default of uploading it to attachments.
- ContractSafeDoNotAdd
- After creating this field, you can type anything into it to prevent the document(s) from uploading to ContractSafe.
- You can select Text or List for Field Type.
- The List type allows you to create a preset list of choices for users (great for assigning a folder).
- The Text type creates an open text field that users can use to type whatever information is needed at the time (great for Value, Notes, or Dates).
- Check the box next to Show field to envelope creators.
- Select ADD.
- Repeat steps 3-7 to create as many of the seven available fields that you need.
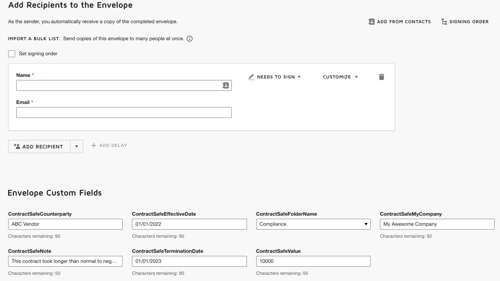
Now, when you start a new contract on DocuSign, you can fill out the ContractSafe data fields listed below your signers.
Effective Date and Termination Date must be typed in the MM/DD/YYYY format for ContractSafe.
Please reach out to support@contractsafe.com for any questions.